Before Opening the Walls: Steps to Take in a Hoarding Cleanout
Hoarding environments can be overwhelming to address—not just emotionally, but physically and logistically. If you’ve been tasked with cleaning out a hoarded property, the process can feel daunting, even before factoring in unexpected challenges like structural issues or hidden damages.
Before opening the walls or tackling heavy-duty repairs, there are essential steps you should follow to ensure the cleanout process is safe, effective, and as stress-free as possible.
This guide breaks down these steps and provides actionable advice to help you handle the unique complexities of a hoarding cleanout.
Why Hoarding Cleanup Requires Careful Planning
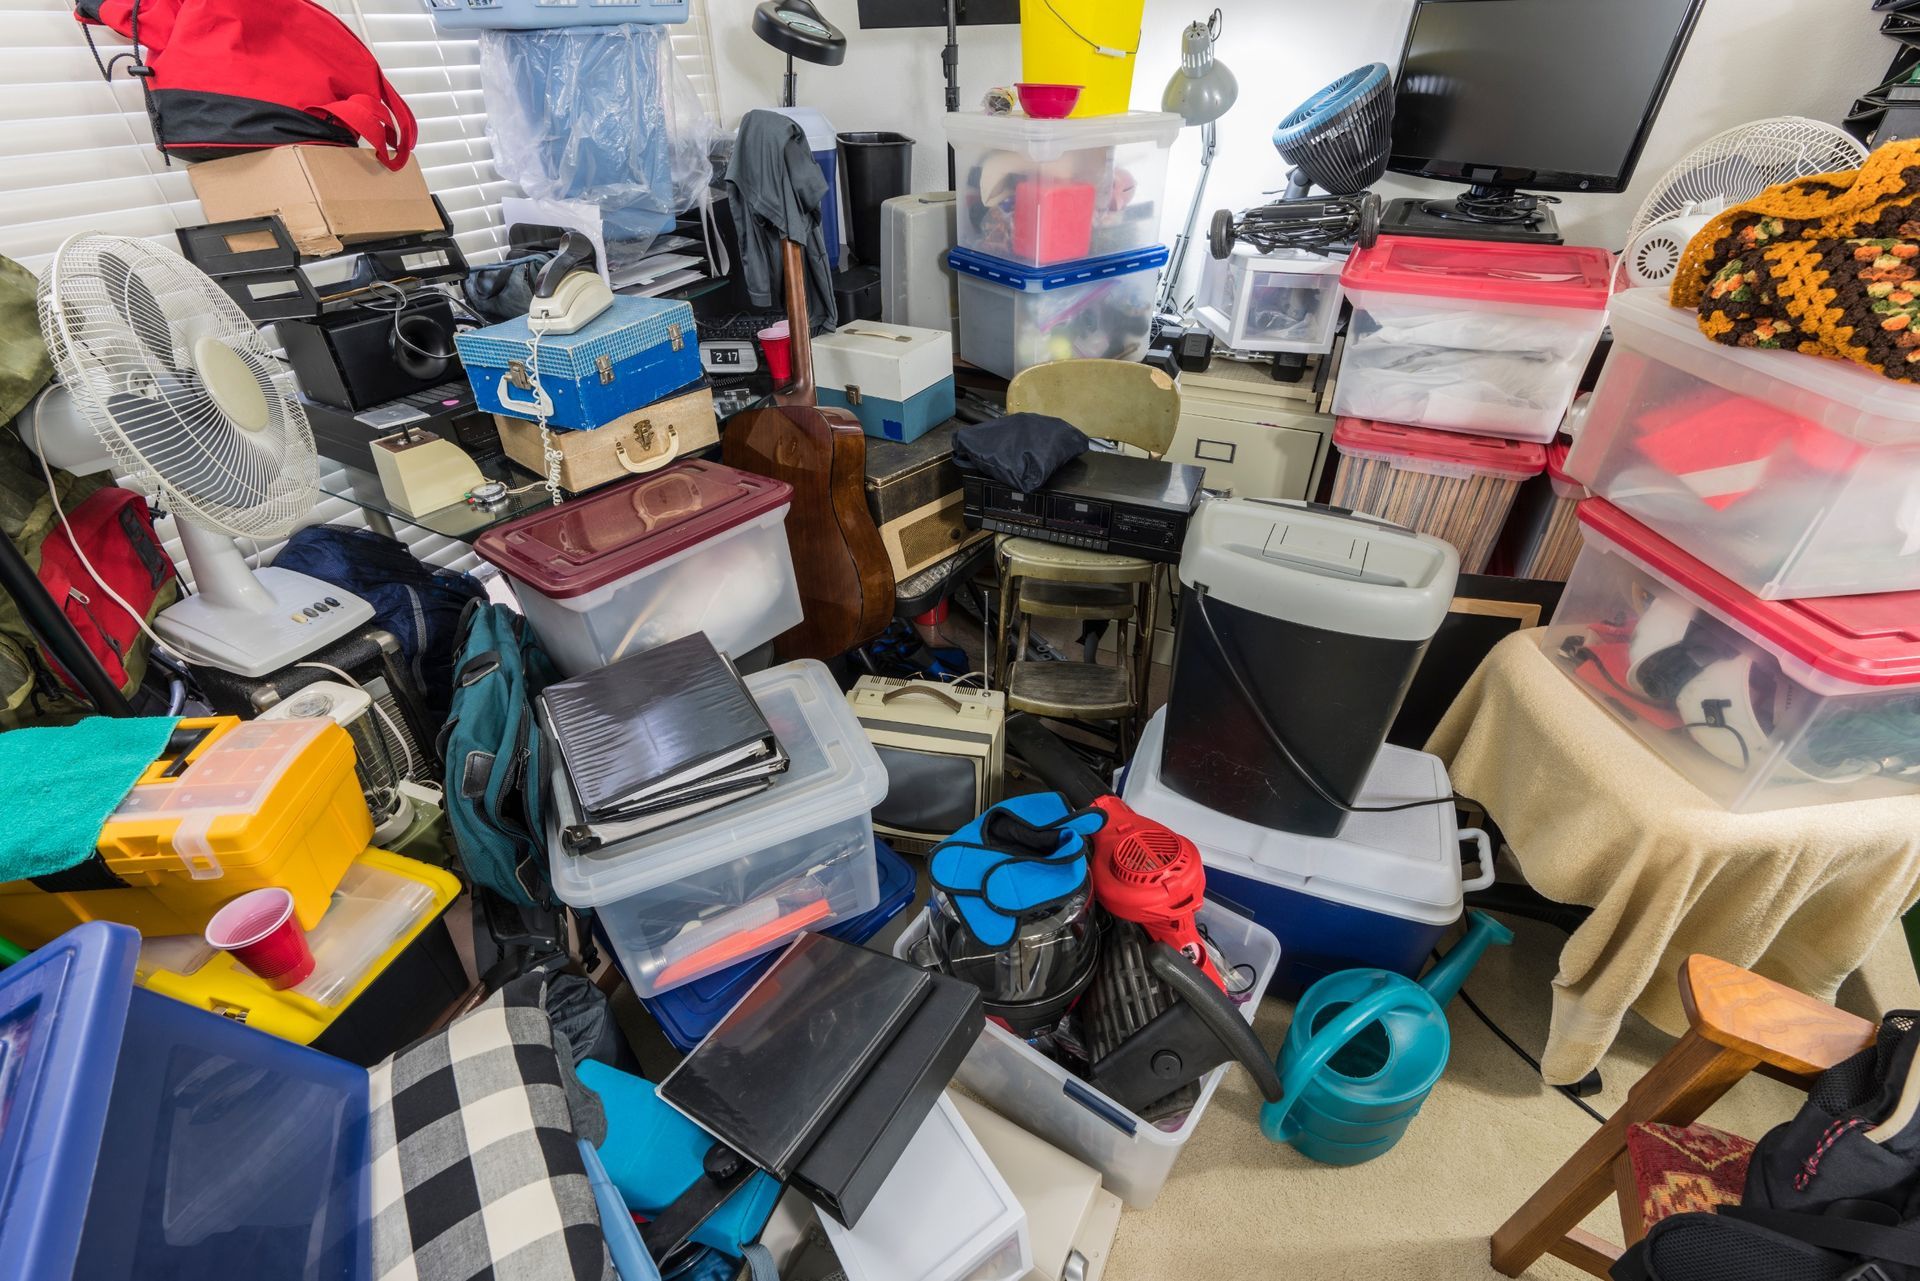
Hoarding is more than just clutter. It often involves large volumes of items piled high, varying levels of dirt and grime, and potential biohazards. A rushed job can lead to accidents, further property damage, and unnecessary stress.
Approaching the cleanout with a clear plan not only ensures safety but can also preserve and restore the property more effectively. By taking the right steps before opening up walls or tackling major repairs, you’ll set yourself up for success.
Step 1: Assess the Situation Thoroughly
Before lifting a box or swinging a hammer, start with a full assessment of the property.
1. Walk Through the Space:
If possible, walk through the property or use photos and videos to evaluate the condition. Look for signs of structural damage, water leaks, or infestations that might need attention later.
2. Identify Safety Concerns:
Common hazards in hoarding environments include unstable piles of items, sharp objects, mold, and pests. Be on the lookout for red flags such as sagging ceilings, warped floors, or visible mold on walls.
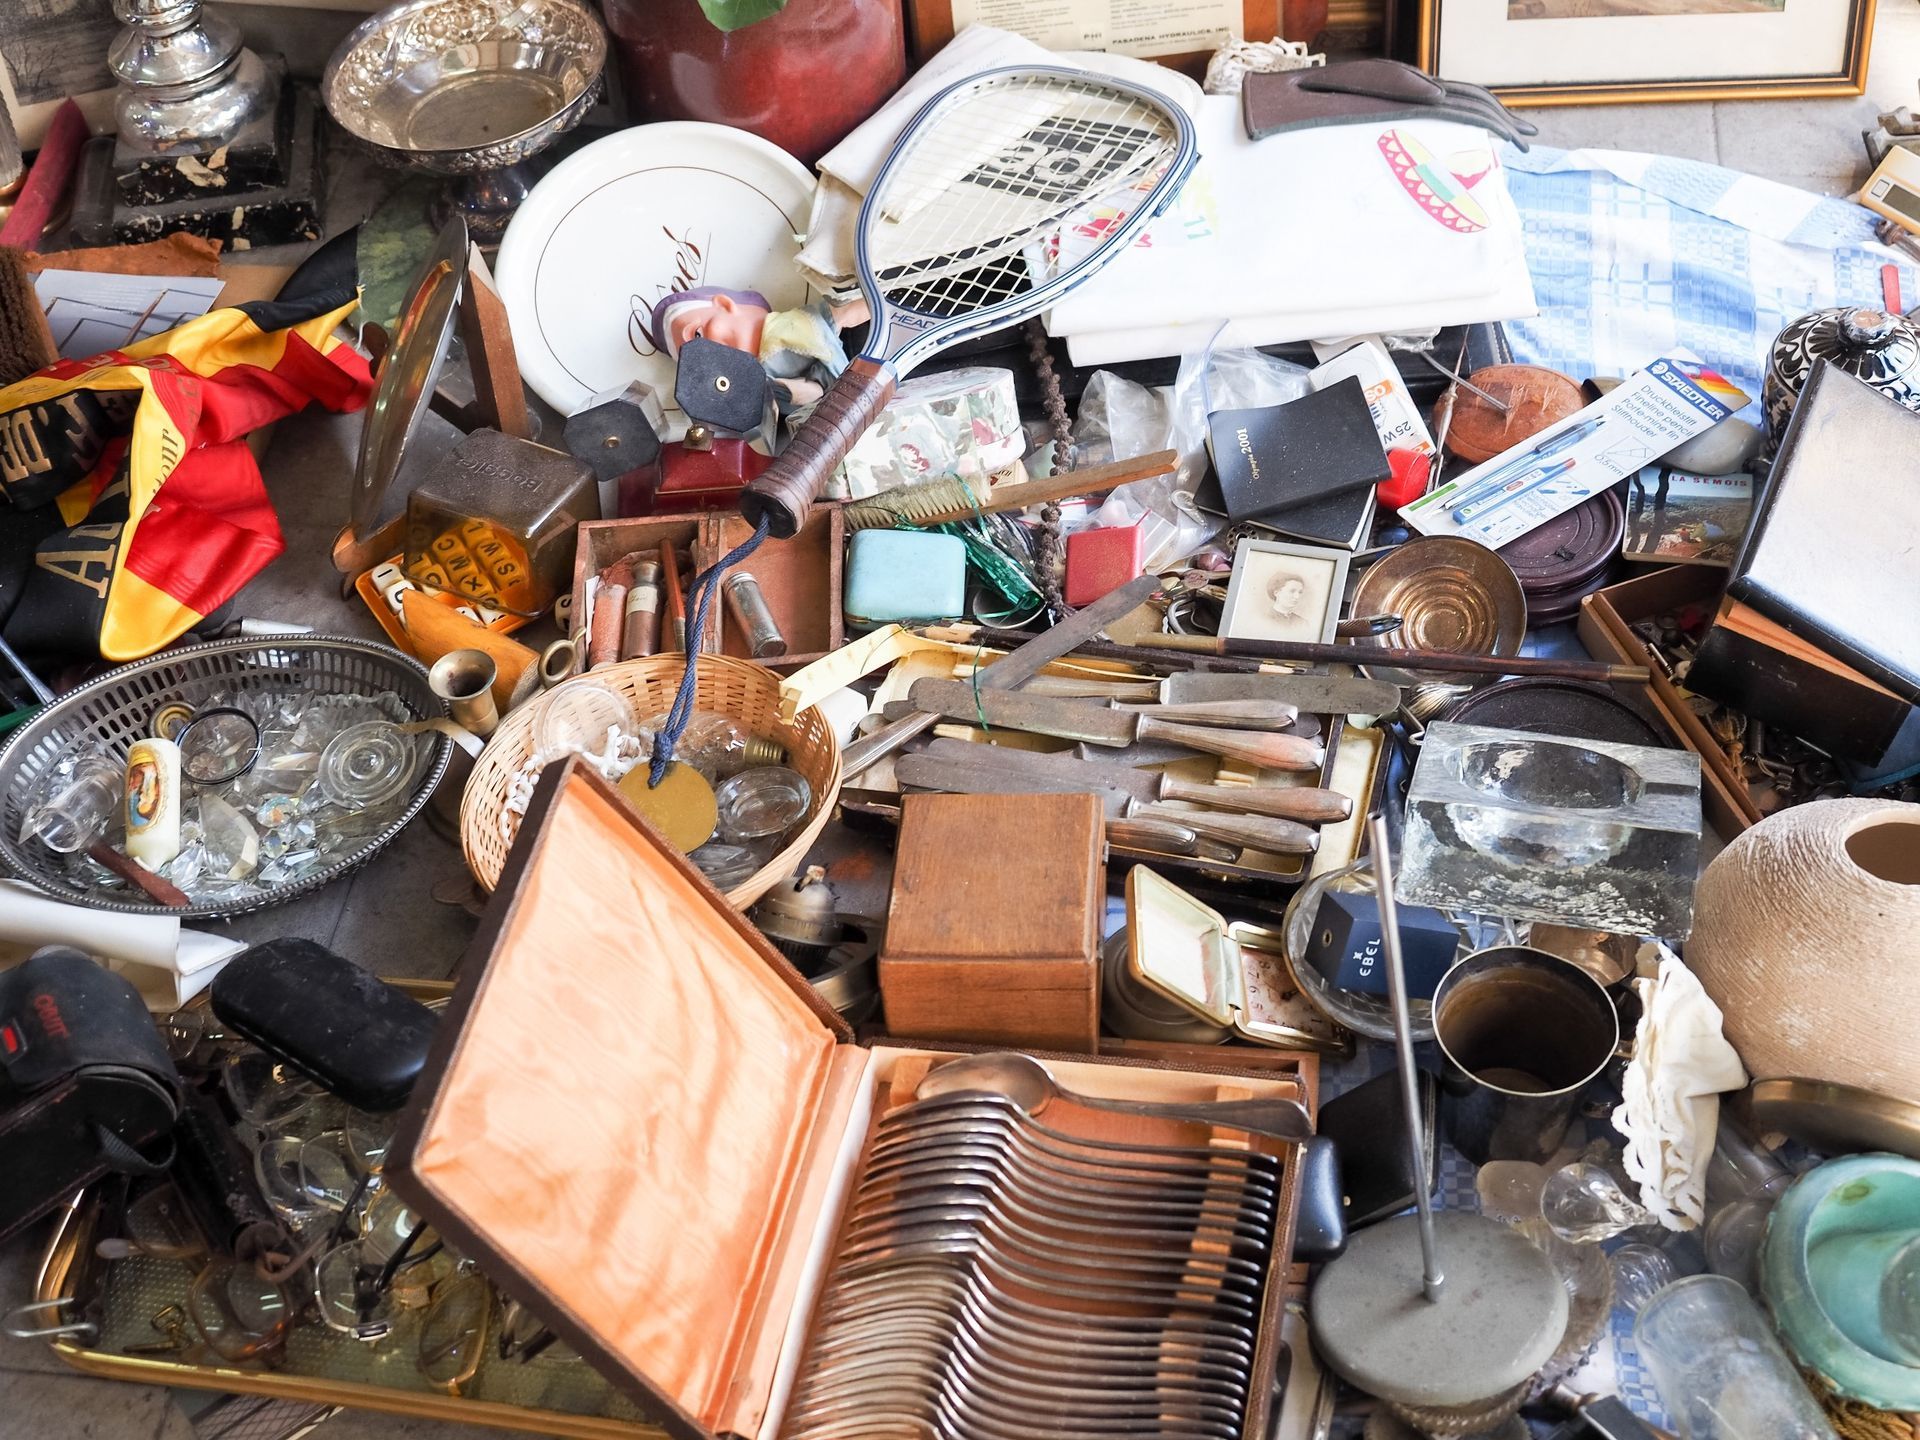
3. Understand What’s Being Stored:
Hoarded properties often contain a mix of valuable keepsakes and hazardous materials. Identifying the type of items hoarded (e.g., paper, food, or electronics) helps you plan appropriately for disposal and organization.
Pro Tip: Take notes and document any major problem areas. This will help prioritize tasks during the cleanout.
Step 2: Gather the Right Supplies and Equipment
When cleaning out a hoarding situation, having the proper tools is non-negotiable. It’s not just about convenience—it’s about ensuring safety for everyone involved.
- Protective Gear for Your Crew:
- Heavy-duty gloves
- N95 masks or industrial respirators
- Protective eyewear
- Boots with slip-resistant soles
- Coveralls or sturdy clothing that can be discarded if needed
2.Cleaning Supplies and Tools:
- Industrial-strength trash bags
- Cleanup wipes, disinfectants, and mold removers
- Shovels, brooms, and dustpans
- Hand sanitizer and cleaning wipes for personal hygiene
3. Other Equipment:
- Flashlights to illuminate poorly lit areas
- Step ladders for accessing high shelves or piles
- A sturdy dolly for large or heavy items
- Large containers for sorting items (e.g., “keep,” “donate,” “dispose”)
Pro Tip: Always have a first aid kit on hand in case of cuts, scrapes, or exposure to hazardous substances.
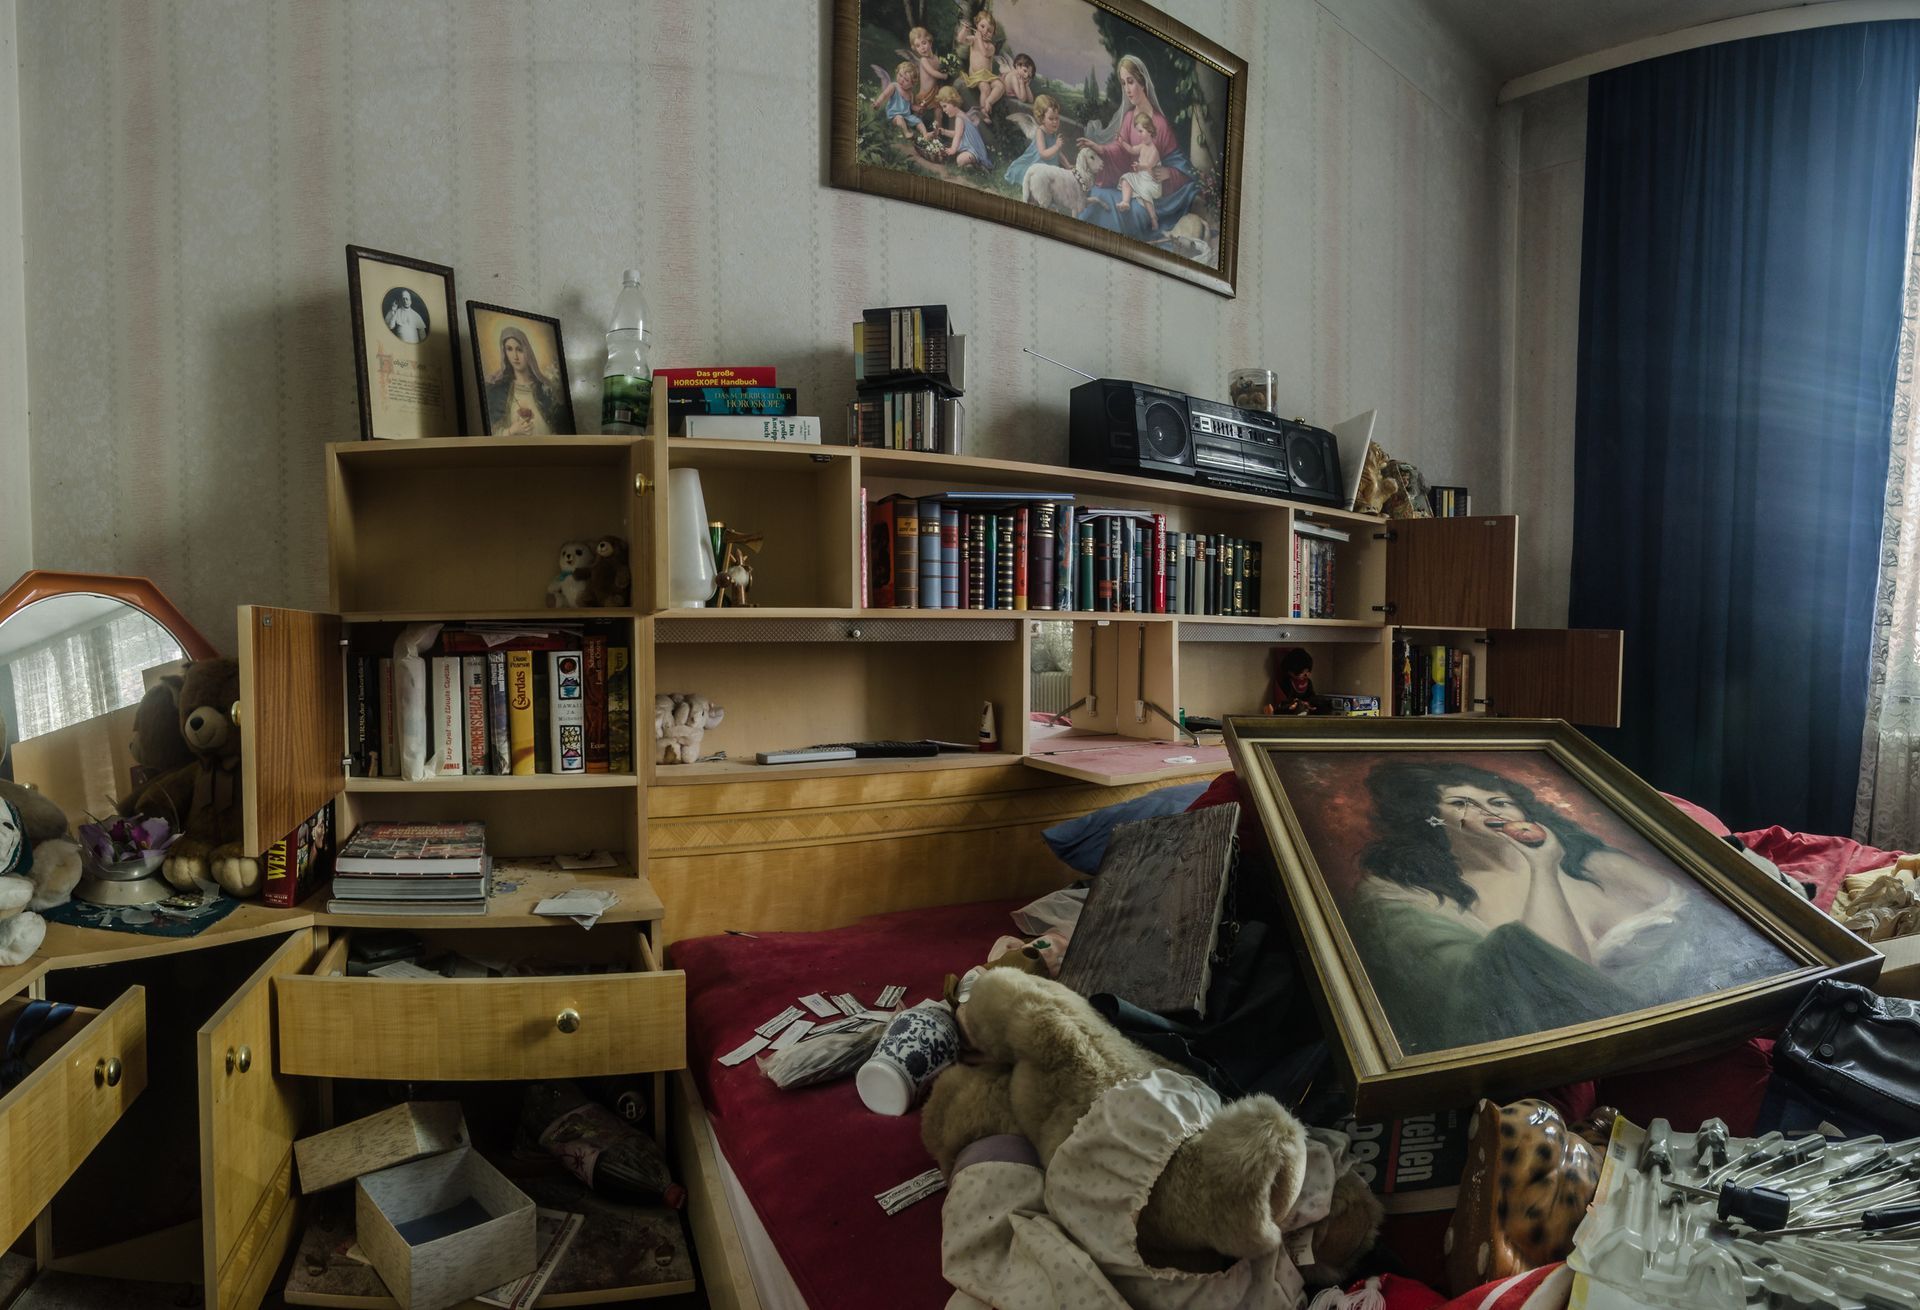
Step 3: Develop a Sorting System
Not every item in a hoarded property is trash. You may uncover sentimental keepsakes, valuable collectibles, or important documents among the chaos. That’s why creating an organized sorting system is so important.
1. Label Sorting Categories:
- Keep: Items with sentimental, monetary, or functional value.
- Donate: Items in good condition that can benefit charities or others.
- Dispose: Items that are damaged, expired, or hazardous.
2. Work Section by Section:
Break the property into manageable zones, such as individual rooms or areas within a room. Sort items thoroughly in one section before moving on to the next.
3. Use Storage Containers:
Place items into labeled storage bins or bags based on category to keep things organized.
Pro Tip: Consider involving the homeowner (if possible) when sorting through personal or sentimental items. Their input can help ease the process.
Step 4: Address Potential Hazards
Hoarded properties often conceal hidden dangers, so identifying and mitigating these risks is critical before digging deeper into the property (e.g., opening walls or repairing structures).
1. Pest Control:
Look for signs of rodent, insect, or other pest infestations. If you see evidence of pests, hiring a professional exterminator is essential before continuing the cleanout.
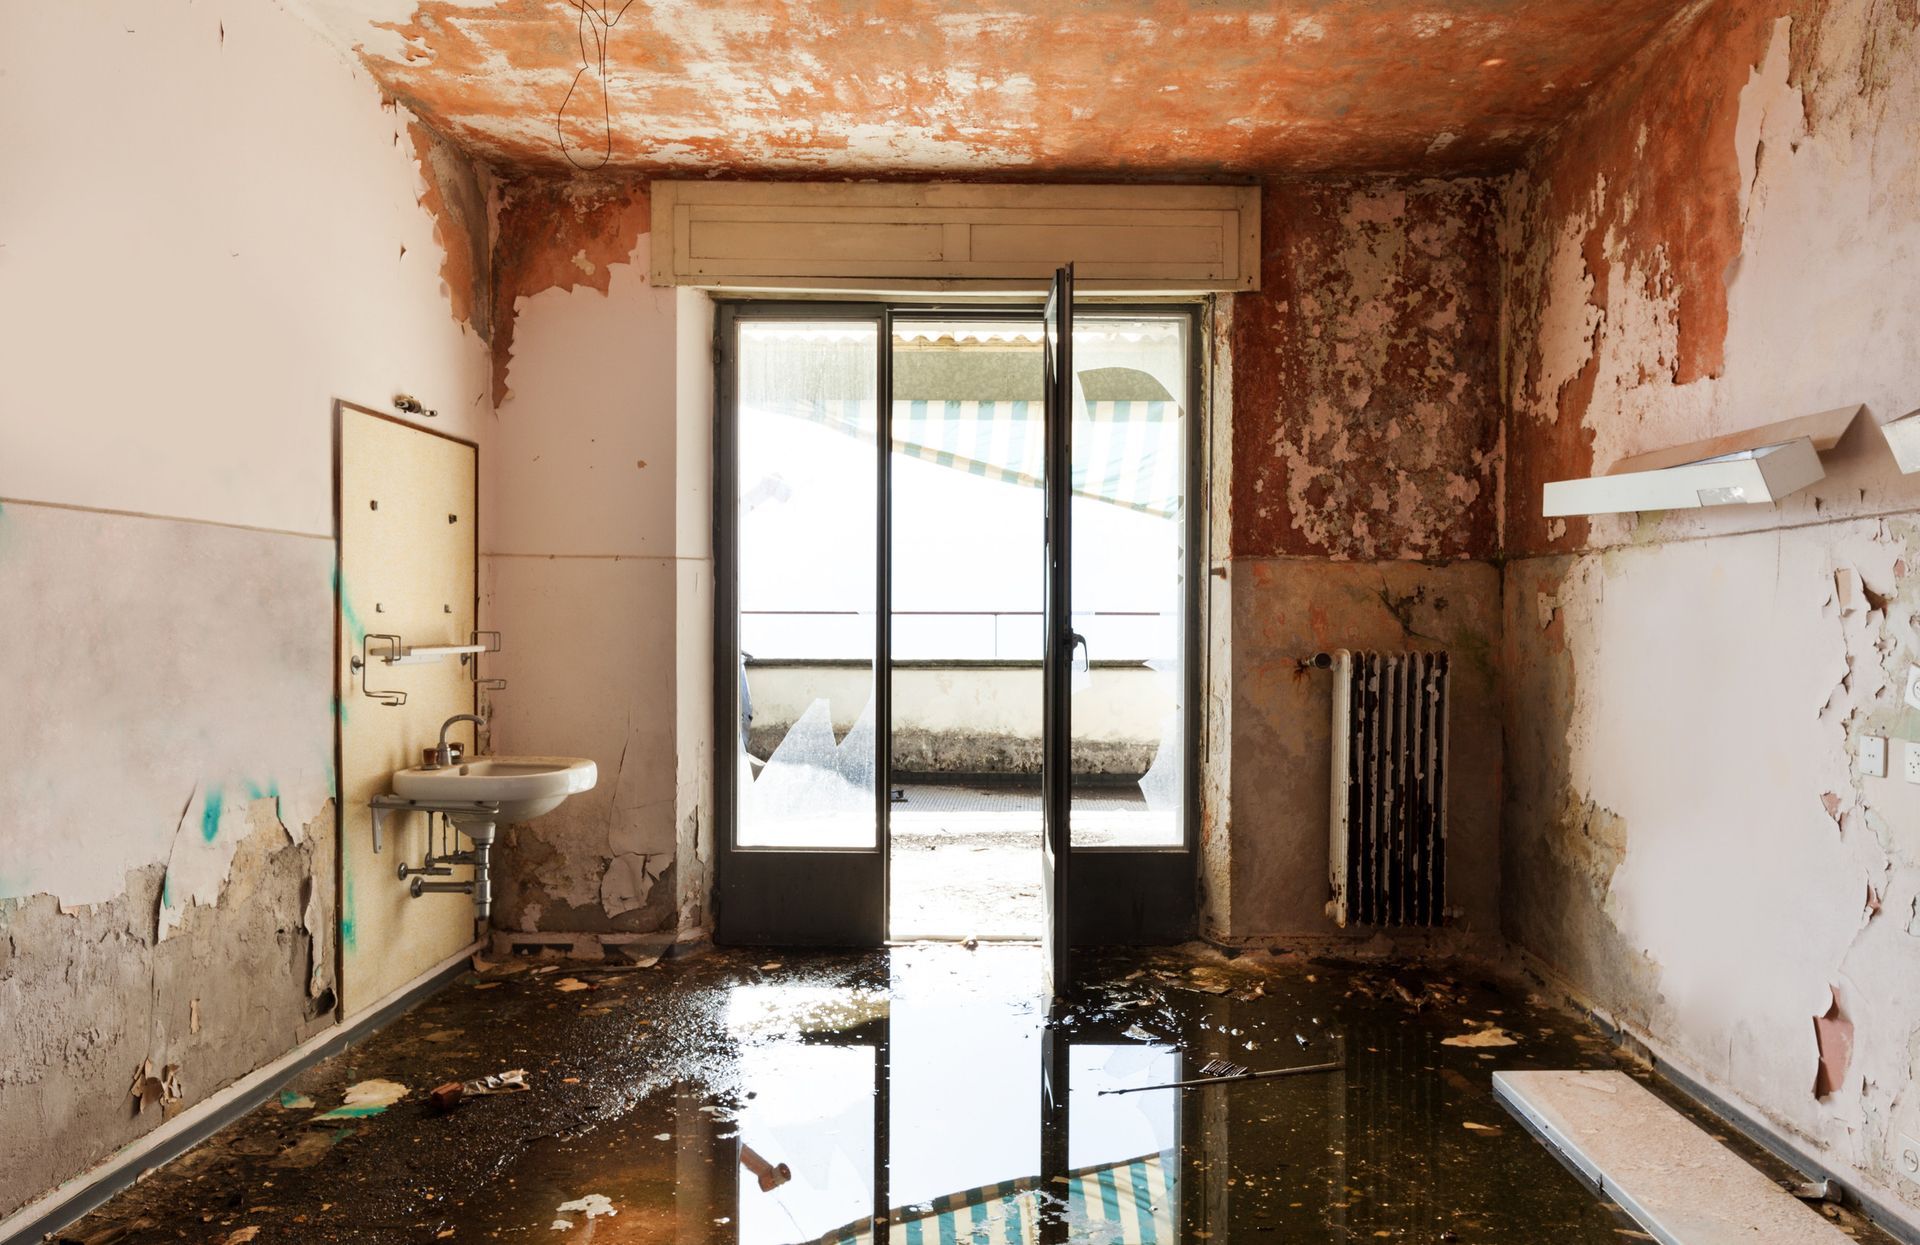
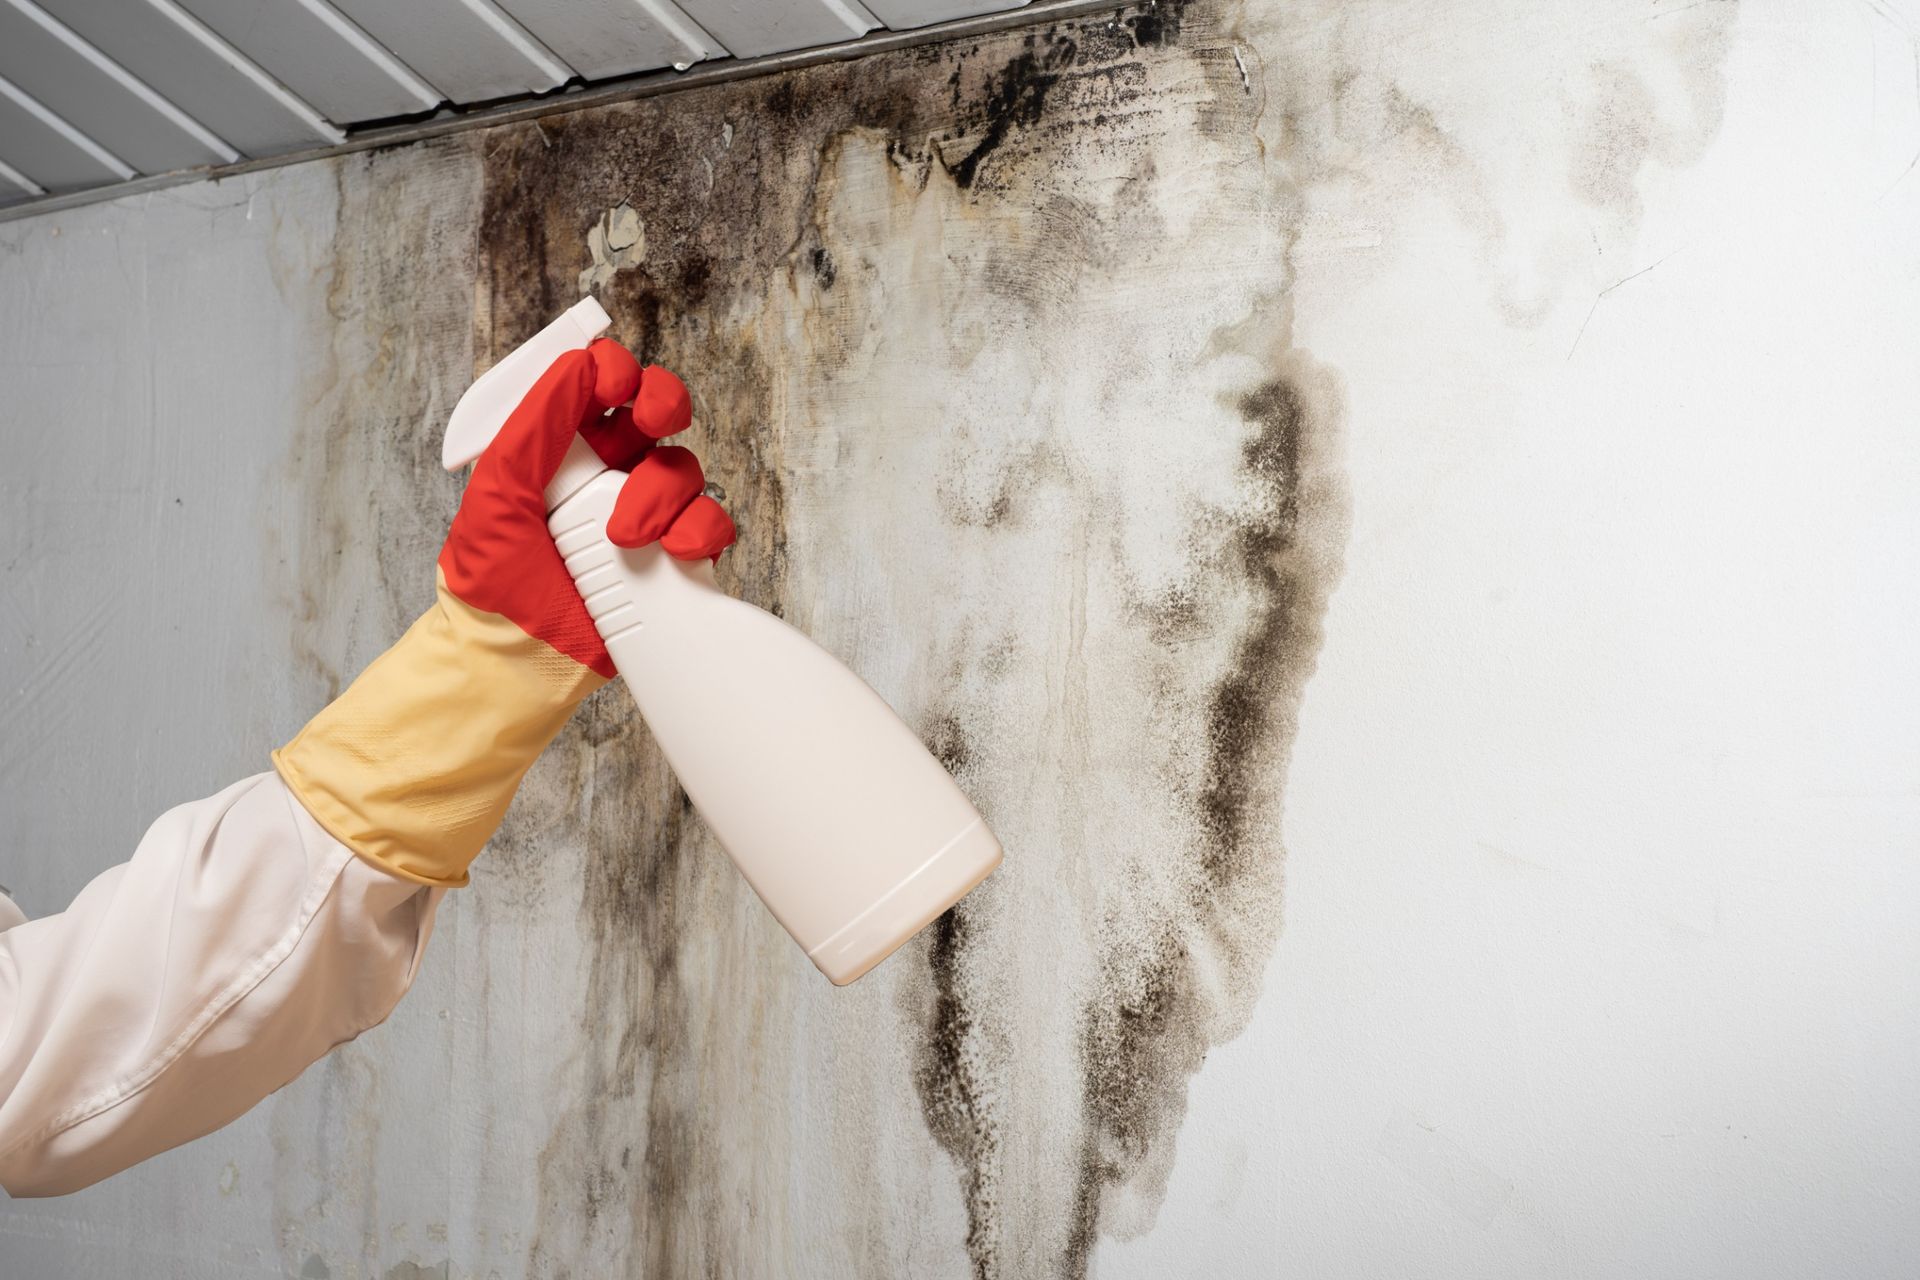
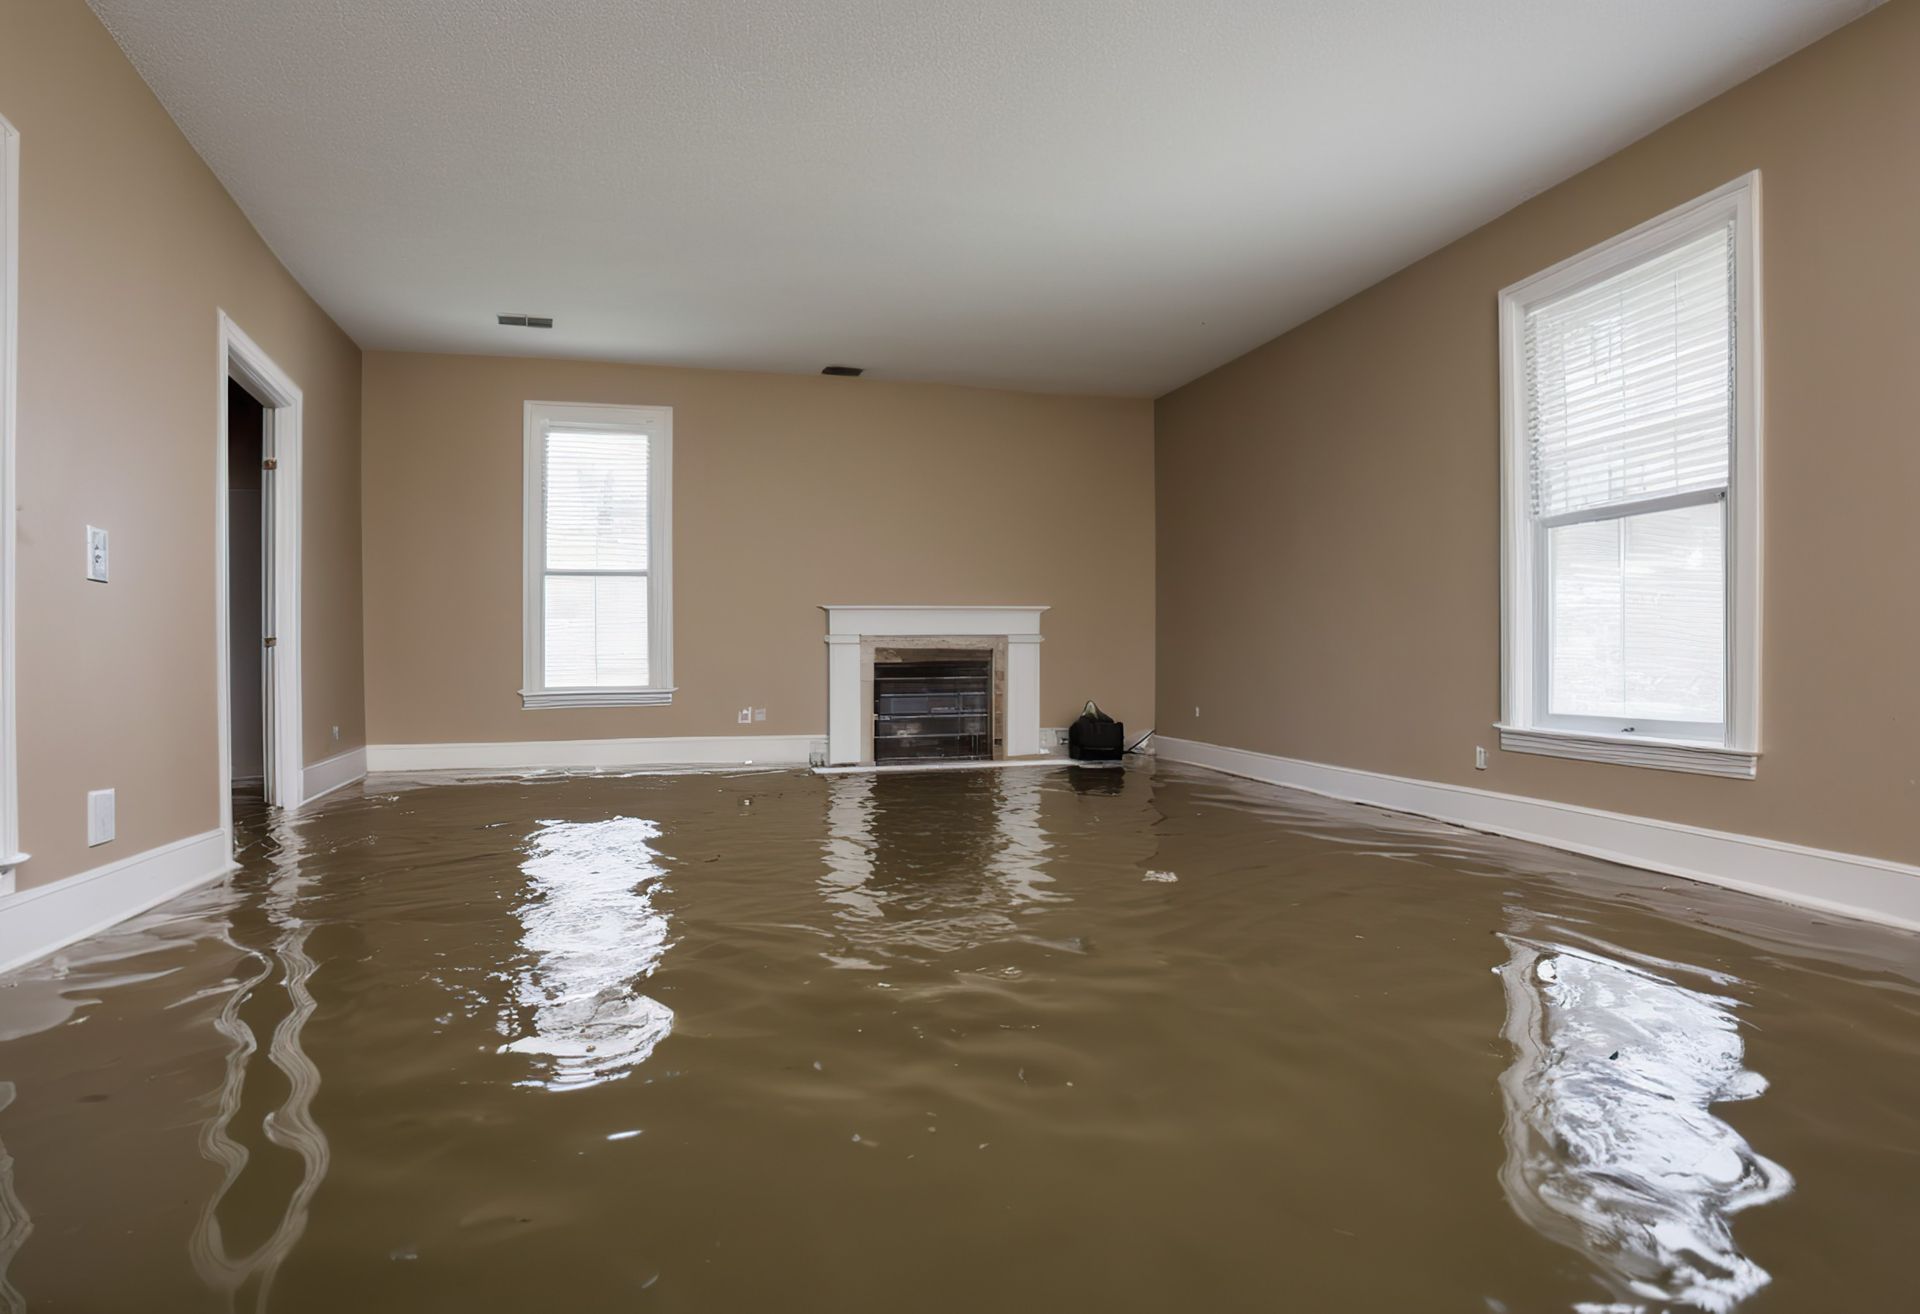
2. Mold or Water Damage:
Mold is a significant health hazard and can spread rapidly in hoarded environments. Test for mold and address any leaks or water damage before tackling walls or floors.
3. Biohazards:
Items like soiled furniture, food waste, or animal droppings pose serious health risks. Use appropriate protective gear and, if needed, call in professionals for cleanup.
4. Structural Damage:
Hoarded items can put strain on a property’s infrastructure, resulting in cracked walls, sagging ceilings, or damaged floors. Structural issues may require the expertise of contractors or inspectors.
Step 5: Enlist Help from Professionals
Hoarding cleanouts can be physically and emotionally overwhelming, and there’s no shame in admitting when you need help.
1. Professional Cleaning Services:
Hoarding cleanup companies bring experience, efficiency, and specialized tools to tackle these complex environments.
2. Mental Health Professionals:
If the homeowner is actively involved, enlisting the support of a therapist or counselor who specializes in hoarding can make the process smoother and more compassionate.
3. Contractors or Inspectors:
After the initial cleanup, consider having the property inspected for hidden damage to ensure that it’s safe and ready for further restoration.
Pro Tip: Many professional cleanup services can also handle biohazards, mold remediation, and pest control, saving you time and effort.
Step 6: Plan for Disposal
Disposing of hoarded items isn’t as simple as tossing them out; you’ll need a clear plan depending on the volume and type of materials being removed.
1. Contact Local Waste Services:
Find out what items your local waste service will and won’t take (e.g., electronics, hazardous materials).
2. Rent a Dumpster:
For larger cleanouts, renting a dumpster can save trips to the landfill and streamline waste removal.
3. Recycle When Possible:
Items like electronics, glass, or metals should be recycled rather than discarded.
4. Coordinate Donations:
Many local charities and thrift shops will pick up donations directly from your location, which helps give usable items a new life.
Pro Tip: Always check regulations around the disposal of hazardous materials such as chemicals, batteries, or medical waste.
A Path Forward for Hoarded Properties
Cleaning out a hoarded property is never simple, but it doesn’t have to feel impossible. By following these six steps—assessing the situation, gathering the right tools, sorting items, addressing hazards, enlisting professional help, and planning for disposal—you can approach the process with confidence and care.
Whether you’re restoring the property for sale, rental, or personal use, a methodical approach will yield the best outcomes and ensure the safety of everyone involved.
Take the First Step with Environmental 911
Are you ready to tackle hoarding and reclaim your living space? Environmental 911 is here to help you every step of the way. Our specialized hoarder cleanup services in Pasadena are designed to provide you with compassionate, professional support during this challenging process. Whether decluttering, organizing, or restoring your home to a safe and livable condition, our experienced team will work alongside you to create a space you can feel proud of. Take the first step towards a fresh start—let us handle the cleanup so you can focus on moving forward.
Our team of specialized cleanup professionals understands the unique challenges posed by hoarding and is committed to providing compassionate, thorough, and efficient services tailored to your needs.
Don't wait any longer to begin your journey towards a healthier life. Reach out to
Environmental 911 for a consultation and see how our expertise can make a difference for you and your loved ones.